Photo by Mohammad Rahmani on Unsplash
how to set up environment variable for Netlify site.
How to set up your environment variable in your React project hosted on Netlify.
So you have an important website you want to deploy for the first time and you need to get all your Environment variables to Netlify's CDN which is the hosting service you are using so all your builds can work. To achieve this, we can use one of the three methods provided by Netlify. According to the docs, there is Netlify UI, Netlify CLI or Netlify API. For Newbies, let's dive right into what environment variables are.
PermalinkWhat is an Environment Variable?
An environment variable is a key-value pair that stores information about the environment in which a software program is running. Environment variables can be used to store configuration data that is needed by an application, such as database connection settings, API keys, and other sensitive or non-sensitive information.
The environment refers to the context in which the program is running and it includes a variety of factors that can affect how the program operates, such as the operating system, installed software libraries, user settings, and network configuration. It gives the program access to resources such as files, network connections, and software libraries that are available for use based on the operating system and other environment factors.
For example, running a program on Windows O.S. would provide a different environment from a Linux O.S. Environment can also refer to the development process e.g testing, development and production.
PermalinkSetup environment variable in your React application
Step 1: Create a .env file in the root directory of your React application. Define your environment variable starting with the prefix REACT_APP_ followed by the name of the variable you want to store, and then set its value.
React requires that custom environment variables begin with the prefix
REACT_APP_to differentiate them from other environment variables. Any environment variable without this prefix will be ignored during the build process. For example, if you want to store an API key, you can add the following line to your .env file://inside your .env file REACT_APP_SECRET_KEY=x567cf25g334b545y123Step 2: Access your environment variable in your JavaScript file using
process.env.{variable_name}. When the React app runs, it is executed by Node.js, which loads the environment variables into theprocess.envglobal object. This allows our program to access the environment variables and use them.For example, to use the API key you defined in Step 1, you can do the following in your JavaScript file:
  const apiKey = process.env.REACT_APP_API_KEY;
  const endpoint = `https://example.com/api/${apiKey}`;
The goal is to keep sensitive information like API keys safe to prevent it from falling into the hands of the bad guys.
PermalinkGetting it to work on your Netlify Project.
The step above is great if you are hosting your project from your local machine. What do you think would happen if you were to host it on a third-party platform like Netlify? Your data would eventually not load or throw out some errors. How do we fix this? Netlify provides three options to achieve this, Netlify UI, Netlify CLI, and Netlify API. In this article, We would look at two setup options, Netlify UI and Netlify CLI.
Both methods are a great way to set up your EV on Netlify, while Netlify UI enables more user interaction and doesn't require the need for CLI knowledge Netlify CLI gives more options
PermalinkSetup with Netlify UI
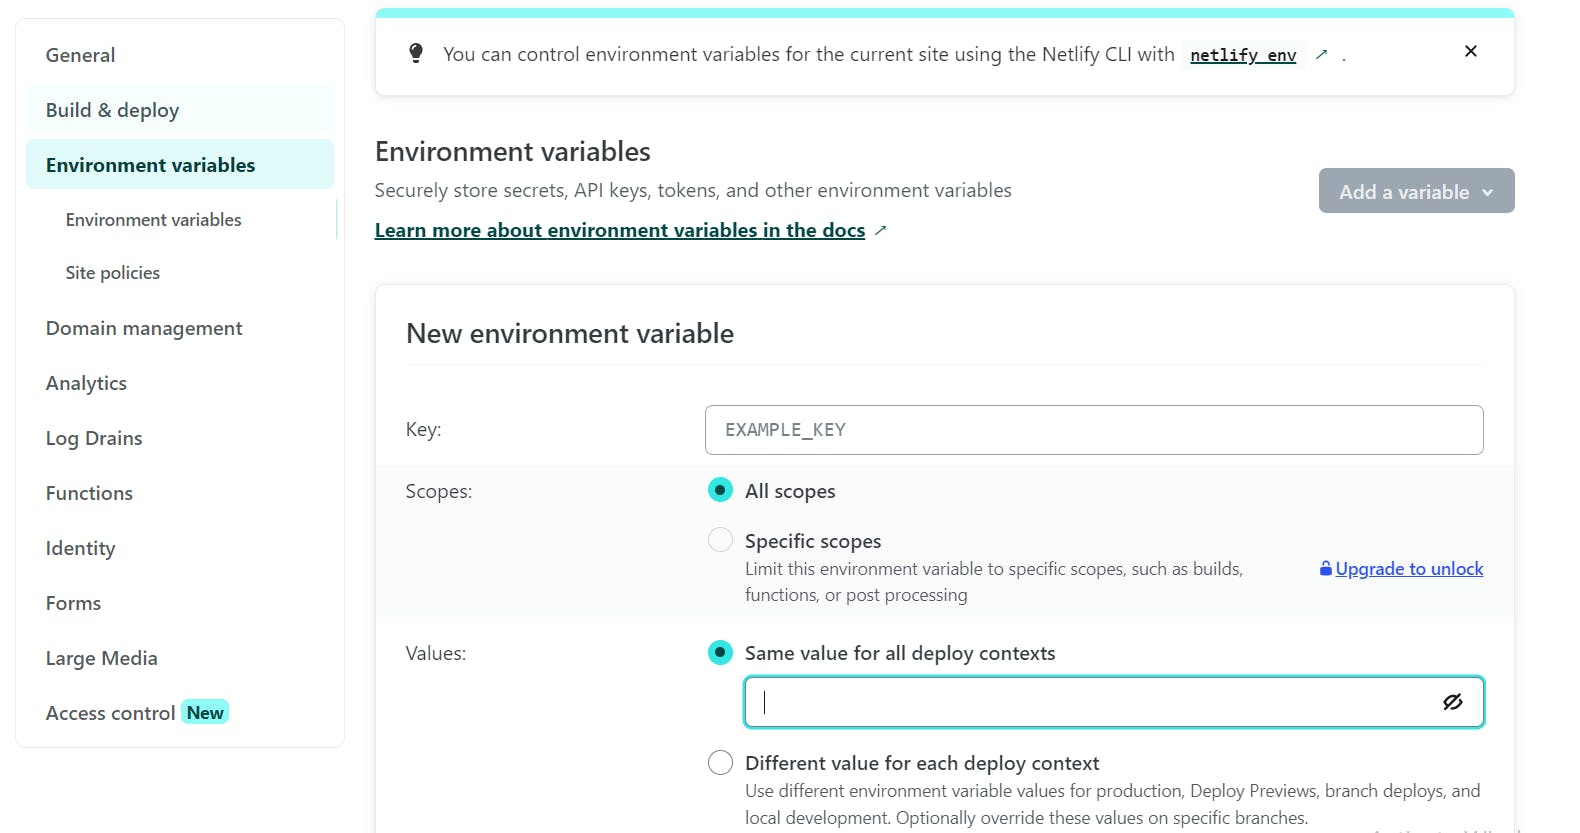
From your Netlify, >> click the site tab >> select the specific project URL >> Go to site settings >> select Environment variables>> click add a new variable and configure your EV.

PermalinkSetup with Netlify CLI
Install Netlify CLI by running the command below in your terminal. This will give you access to the Netlify prompt, which allows you to deploy your React app to Netlify.
npm install netlify-cliLogin: To use Netlify CLI, you need to authenticate yourself by logging in to your Netlify account. You can do this by running the command
netlify loginin your terminal, which will prompt you to enter your Netlify credentials.netlify loginLink to your Netlify site: The
netlify linkcommand is used to link your local project to a specific site on Netlify by specifying the site name. This is necessary for deploying your project to the correct site.netlify link --name of siteImport your EV: Import your environment variables to Netlify by running the command below in your project directory. This command imports your environment variables from your
.envfile into your Netlify site, allowing your site to access them just like your local environment does.netlify env:import .env
PermalinkConclusion.
Related Sources:
